Photos: Sarah Dovolos
Flex your DIY muscles with these fun projects.
We’re hanging out at home a lot more these days, so why not put that extra time to good use! There are likely lots of projects you’ve been wanting to do, lots of Pinterest board ideas and Instagram posts you’ve been meaning to try but have always just been too darn busy. Well, now’s your chance.
Our editorial staff has compiled a list of four delightful projects you can create—a chunky knit throw, bookmarks, door décor and faux pottery—to help get your wheels a-spinnin’ and your creativity a-flowin’.
Happy making!
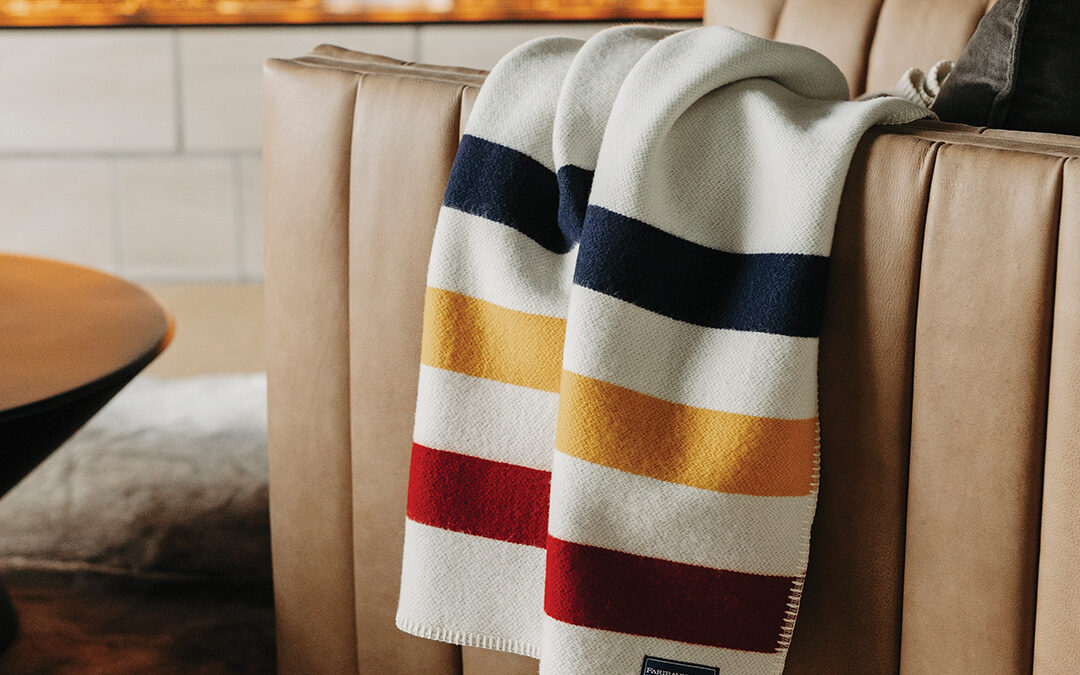
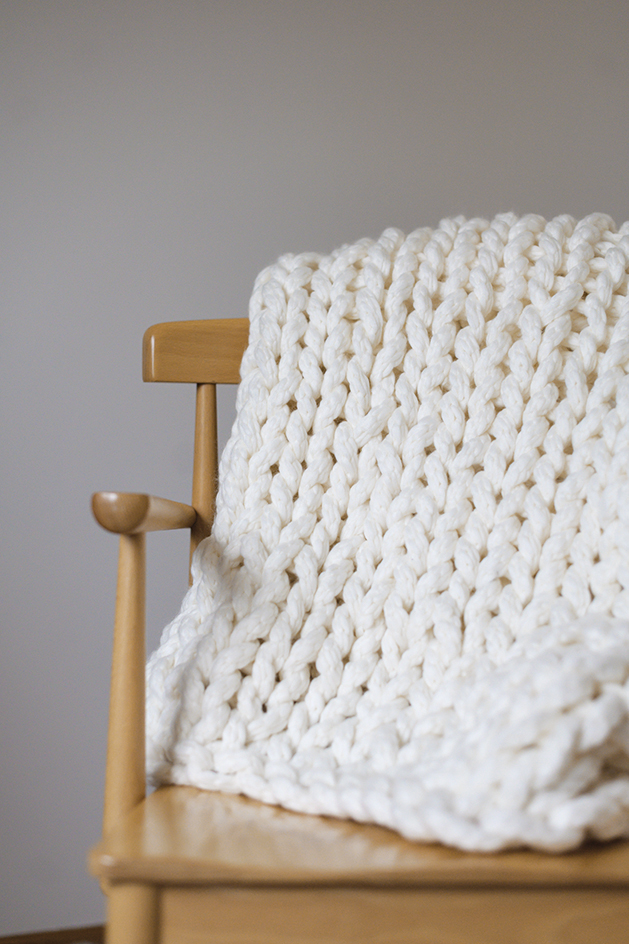
Blanket Bliss
We all love cozy blankets and throws to help keep the chill away during these cold winter days. When you make said cozy blankets and throws with your own two hands, well, they just feel a whole lot snugglier. So, grab some yarn, find a flat surface on which to work (preferably a table or kitchen island), and let’s get hand-knitting—no knitting needles required! (Contributed by Nancy Eike)
Materials:
4–6 skeins of 7 mm yarn (I used Yarn Bee’s Chunky Knit Yarn in ivory.)
Tape measure
Method:
Create a 4-inch loop using a slip knot. Leave approximately 12 inches at the end (this is called the “tail”; the rest of the skein is called the “working yarn.”) Reach your hand through the loop, grab the yarn and pull it through to make another 4-inch loop. Continue creating the loops until you’ve made 20, which will resemble a chain stitch. (This will make a throw of approximately 50 inches by 60 inches.) Turn the 20th loop up (this becomes your first stitch of the new row) and put your finger underneath the top “hill” of each loop thereafter, and pull the yarn through to create another loop. Continue going back and forth until you’ve reached your desired length.
To finish the blanket, put the first two loops in the last row together, reach your hand through both loops, grab the yarn and pull it through to create a new loop. Use the new loop and next loop in the row until you get to the end of the row. Cut the yarn leaving a 12-inch tail, and tie a knot in the last loop. Weave remaining tail through the blanket.
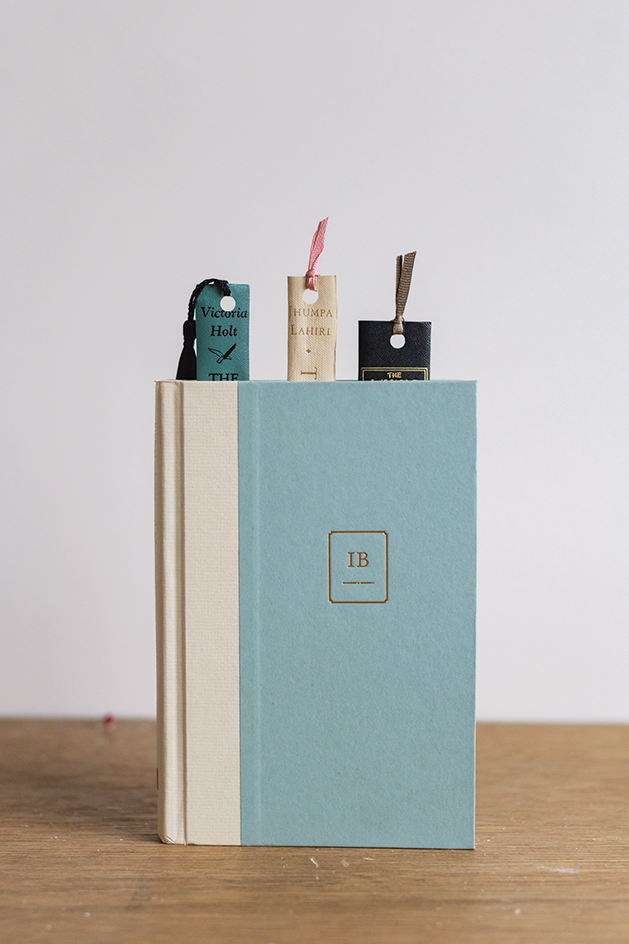
DIY Bookmarks
I am typically not a “crafty” person, but I am an avid reader, and these DIY bookmarks seem like a wonderful way to repurpose old books. And, it looks easy! That’s an important project component to non-crafters like me. That is, if I can get past the idea of deconstructing something as venerable as a book. You may have old books on your shelves to use. If not, check thrift stores and garage and estate sales. (Contributed by Angela Johnson; inspired by familyhandyman.com)
Materials:
Old hardcover books
Razor knife
Grommet maker, hole punch or drill
Assorted ribbon
or leather strips
Method:
Simply use a razor knife to slice the covers from old books, and cut out the spines. Drill a hole (or use a grommet maker) in the top of the book spine. Thread a strip of leather or ribbon through the hole to accent these unique bookmarks that could make fun gift items for the bookworms in your life.
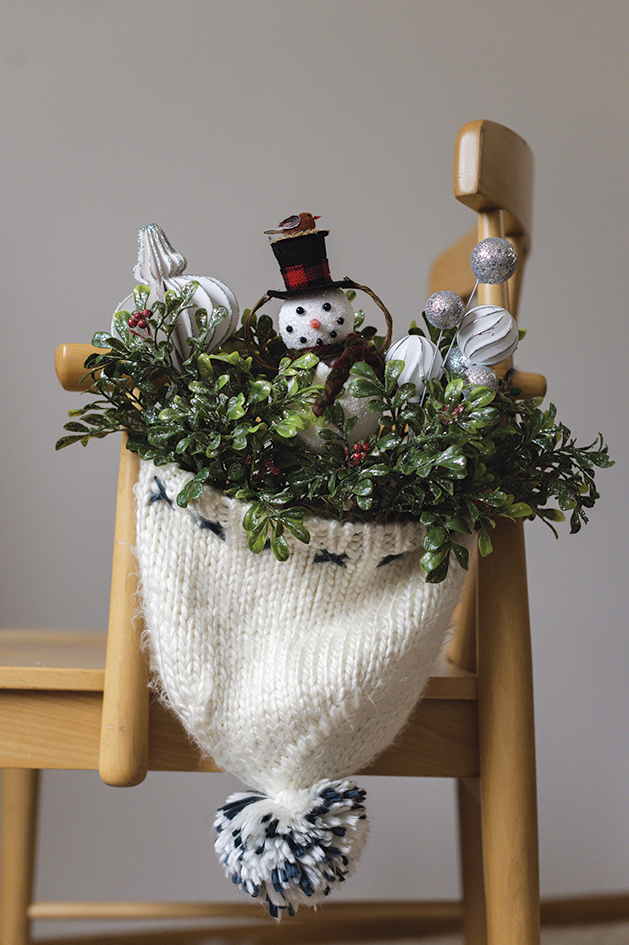
Hat’s Off
Who doesn’t love a craft project that repurposes some of what we already have on hand? With some greenery rescued from December and January’s wreaths, outdoor pots or home arrangements, a little floral foam, seasonal fillers and—an adorable winter hat—we have ourselves a cozy, cute door hanging. (Contributed by Renée Stewart-Hester; inspired by craftsbyamanda.com)
Materials:
A sturdy knit winter hat with ties
Container, to fit into the hat
Floral foam
Hot glue gun and clear glue sticks
Greenery, dried or faux
Seasonal fillers, ideas include mini bird houses or faux pine trees, pinecones, pompoms, seasonal ornaments, etc. (Switch these up to highlight Valentine’s Day, St. Patrick’s Day, a birthday, an anniversary, etc.)
Decorative picks (or bamboo skewers covered in floral tape)
Large safety pin and sturdy elastic band
Method:
Cover bamboo sticks with floral tape, and glue decorative, theme-appropriate items to one end. Using hot glue, secure the floral foam in the base of the container. Add larger greenery elements to the container, making sure both sides are balanced. Fill in the arrangement with remaining items. Carefully, place the container into the hat with the ties facing forward and backward. Secure the ends of the hat ties with the safety pin, looping in the elastic band, which will be used to hang the arrangement on the door.
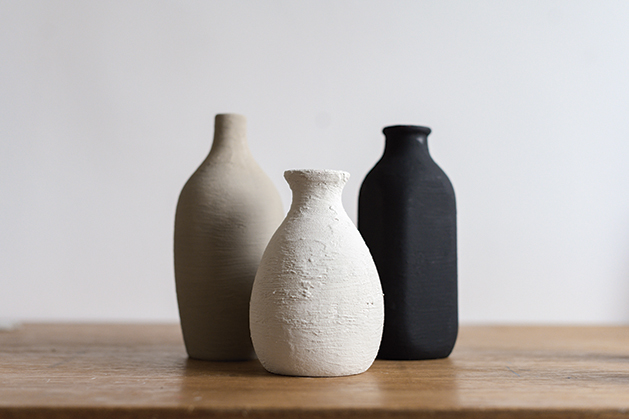
Trash to Terracotta
Let’s face it. Everyone has old glass vases and jars lying around, stored in old boxes or the back of shelves. Instead of collecting dust, upcycle old glass and ceramic pieces with house or acrylic paint and baking powder to make faux pottery. (Contributed by Hailey Almsted)
Materials:
Glass or ceramic vessels, vases, jars, etc.
House, acrylic or chalk paint (just about any paint will do!) or liquid terracotta
Baking powder (baking soda will also work!)
A small container
Spoon or small stick
Large bristle paint brush
Method:
Put ¼ part baking powder and ¾ part paint in a small container and mix using a spoon until a thick, textured paint is formed. (Add in additional baking powder, 1 tsp. at a time, for a more textured look.) Laying out newspaper and using a clean paint brush, began to paint the mixture onto the vessel in large, sweeping strokes. To create a pottery-like feel, paint in horizontal strokes around the pieces instead. Let fully dry, and paint 1–2 more coats, depending on coverage. Textured or colored vessels may need more coats.