Photos: Chris Emeott
Two women share their tips for a successful canning and pickling season.
Fall is here, and before long the cooler temperatures will settle in and we’ll see the sun go down much sooner than it did at summer’s end. This time of year, we’re reminded of the foods we love. And we are reminded of two Edina women, who shared their love of gardening in our May issue. We decided to check in on them and see how the preparations for the fall harvest are going.
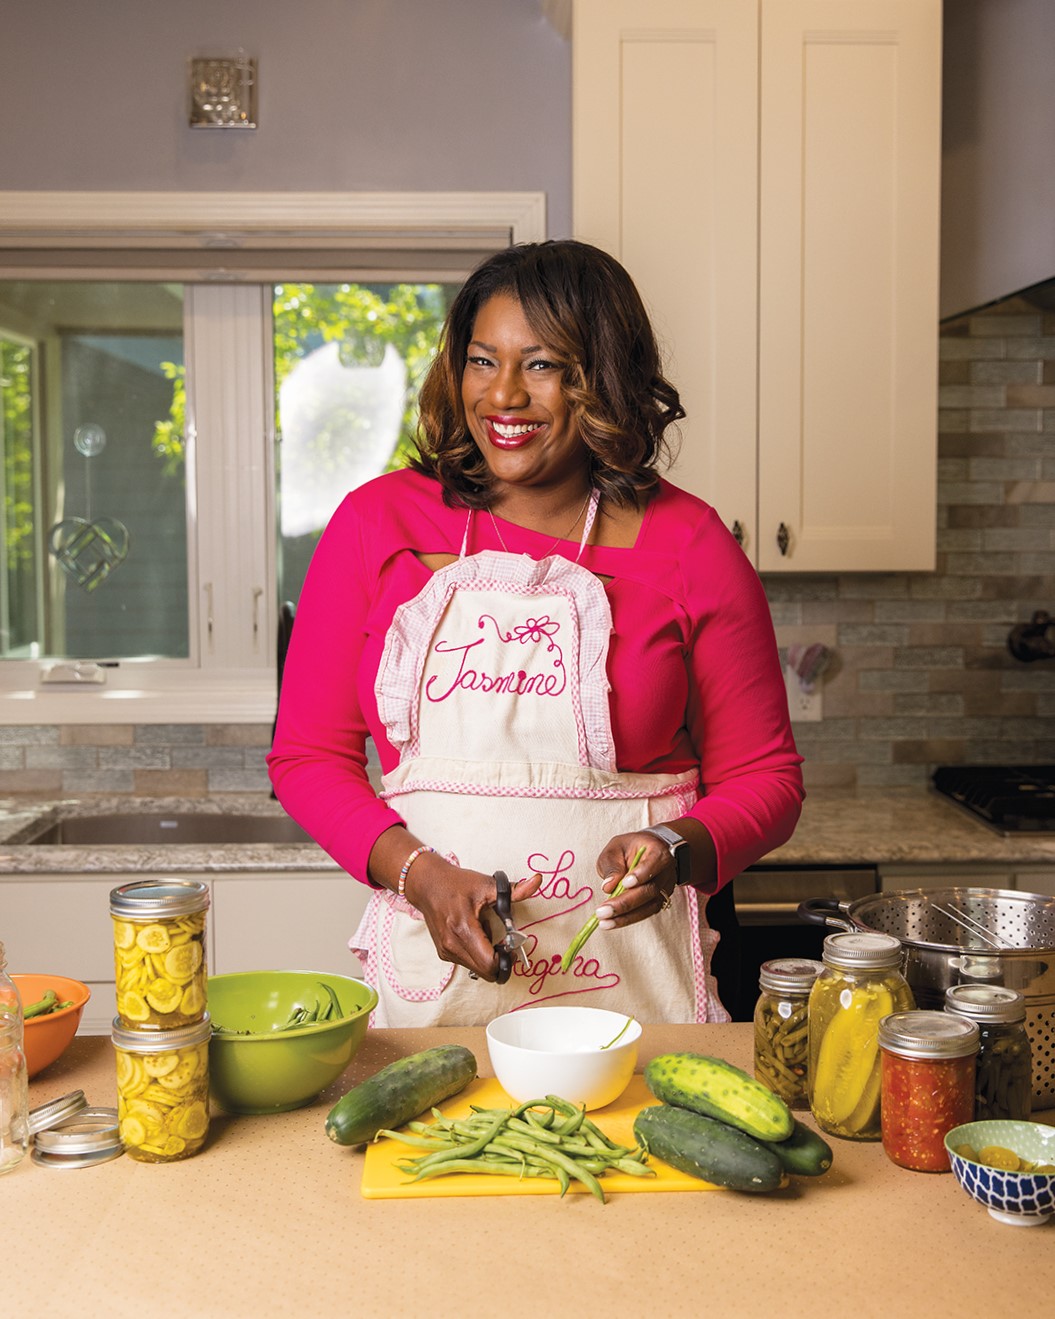
Jasmine Brett Stringer
Local lifestyle expert and Edina resident Jasmine Brett Stringer has spent the last few months sharpening her canning and pickling skills. Stringer is originally from Atlanta, and while she didn’t do a lot of canning or pickling with her family growing up, she has fond memories of her grandmother in Alabama.
Jasmine Brett Stringer
“I remember going to her house as a little girl and sitting on her porch snapping peas and cleaning collard greens. My cousin and I had this kitchenette at her house, and we were playing with the leftover scraps like we were cooking with them,” Stringer says.
Stringer splits her time between her home in Edina and her husband’s farm in Blue Earth, Minnesota. Now, she’s ready to harvest, can and pickle.
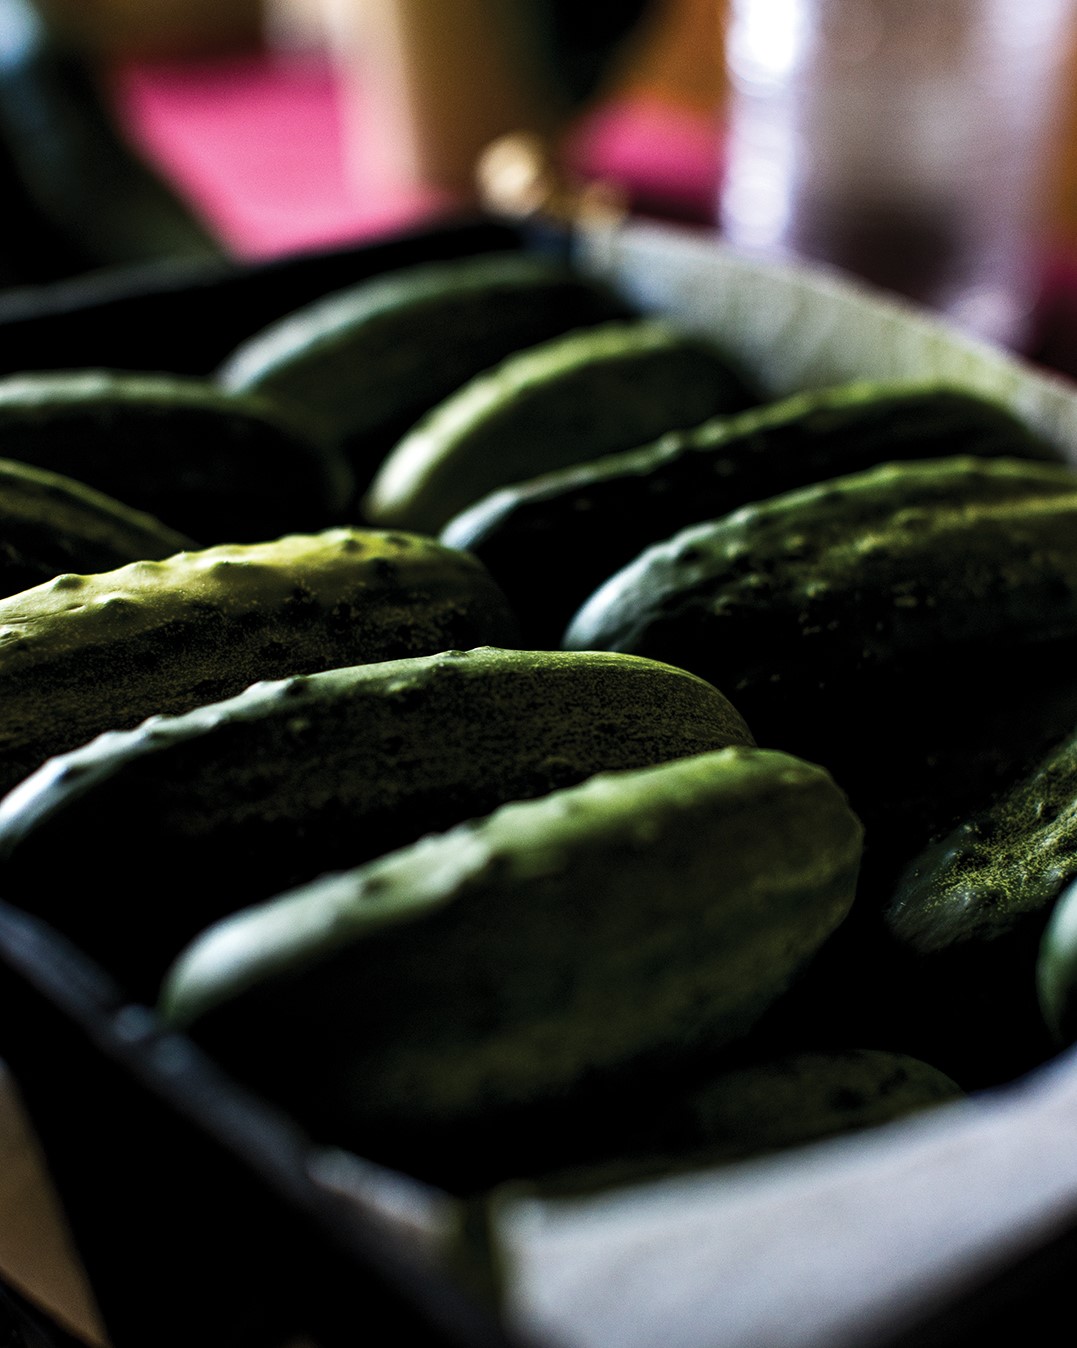
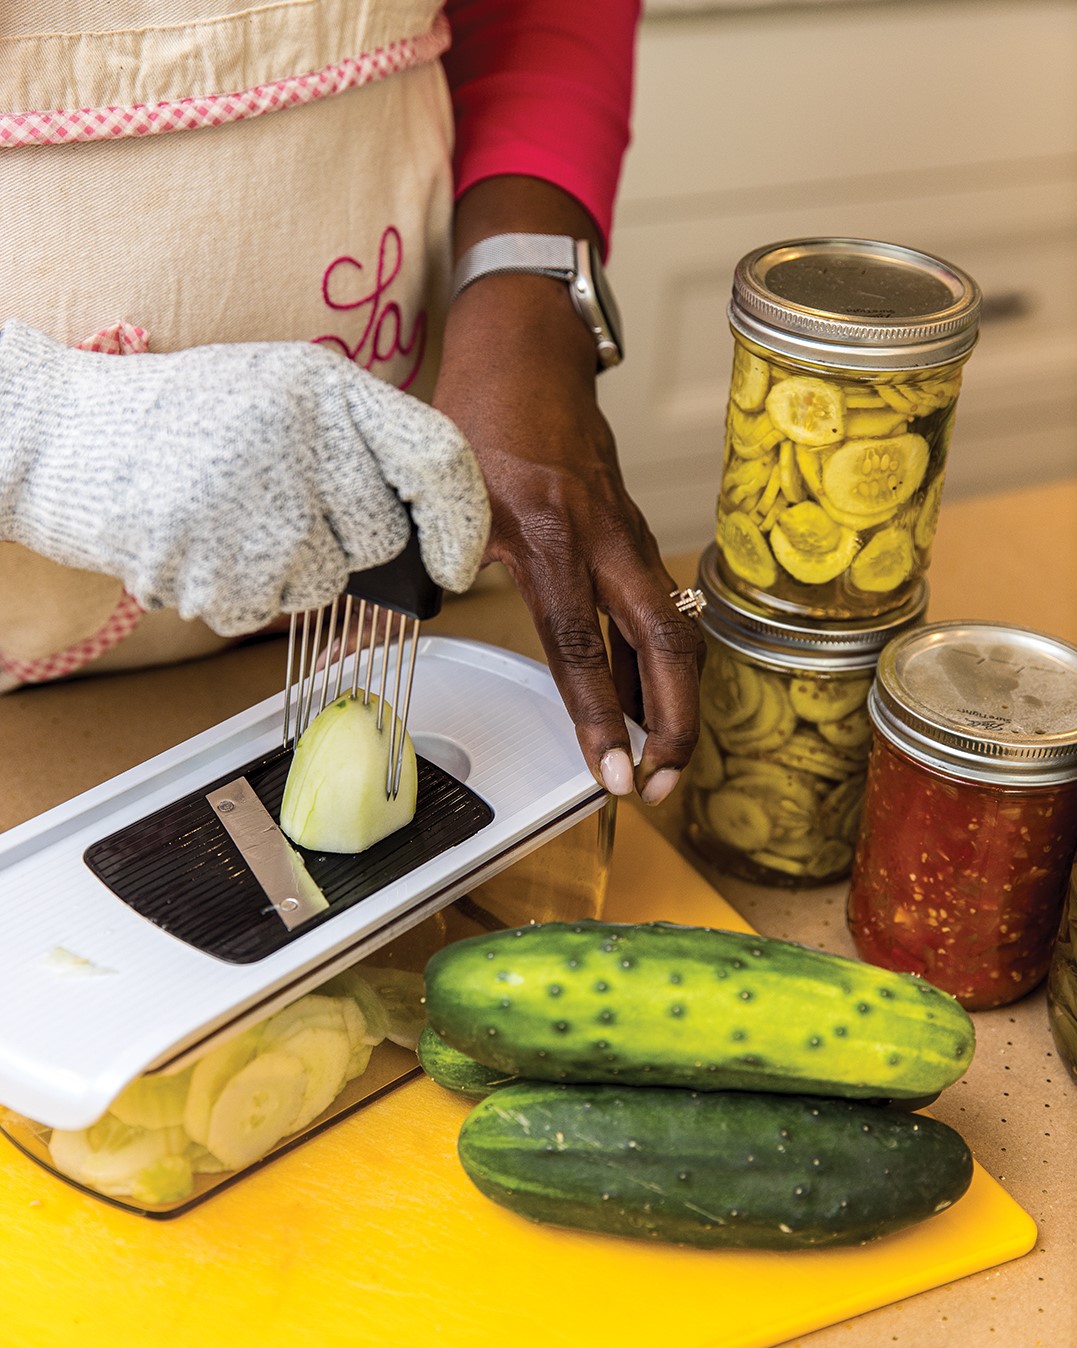
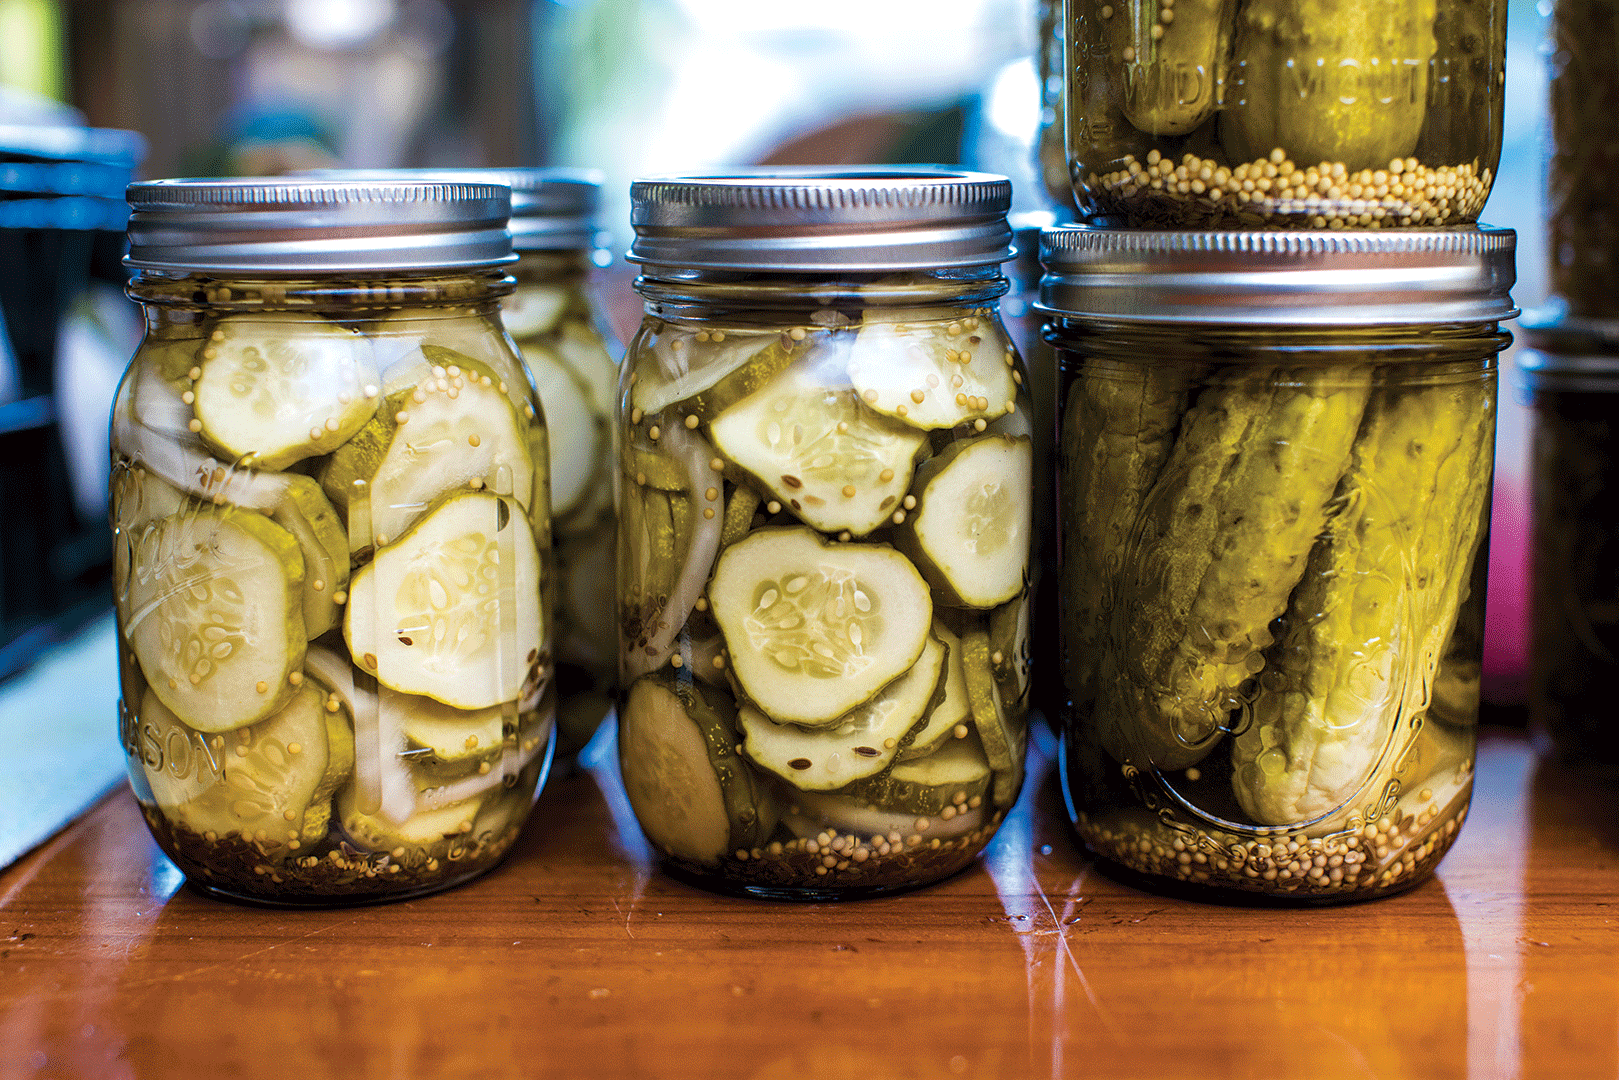
“I love doing green beans. Sometimes, I do asparagus [and] the dilly beans. I think the dilly beans are something people don’t expect,” she says. “My husband and I do our pickles together. We add garlic and pepper. I like the dill, salt and vinegar. I love those little quick fridge pickles. I love onions. Sometimes, I add a little honey and apple cider vinegar.”
Stringer’s Tips:
Plan Ahead: Stringer starts the process of making salsa by breaking it up into small steps, so it feels more manageable. “I start chopping stuff up on Thursday … then by Friday night or Saturday morning, everything has been chopped, so some of the hard work is out of the way,” she says.
Line Your Surfaces: Stringer suggests keeping a few rolls of craft paper or butcher paper on hand. “I line our countertops with that. If it’s sticky, it just makes clean-up easy. Roll that up, make it compostable, or you can just throw it out,” she says.
Make Extra Space: Bringing in a holding table or card table helps if you need some extra counter space. And as you’re working, make sure the jars seal properly.
Kittie Anderson
Edina resident Kittie Anderson spent 30 years as a professional chef.
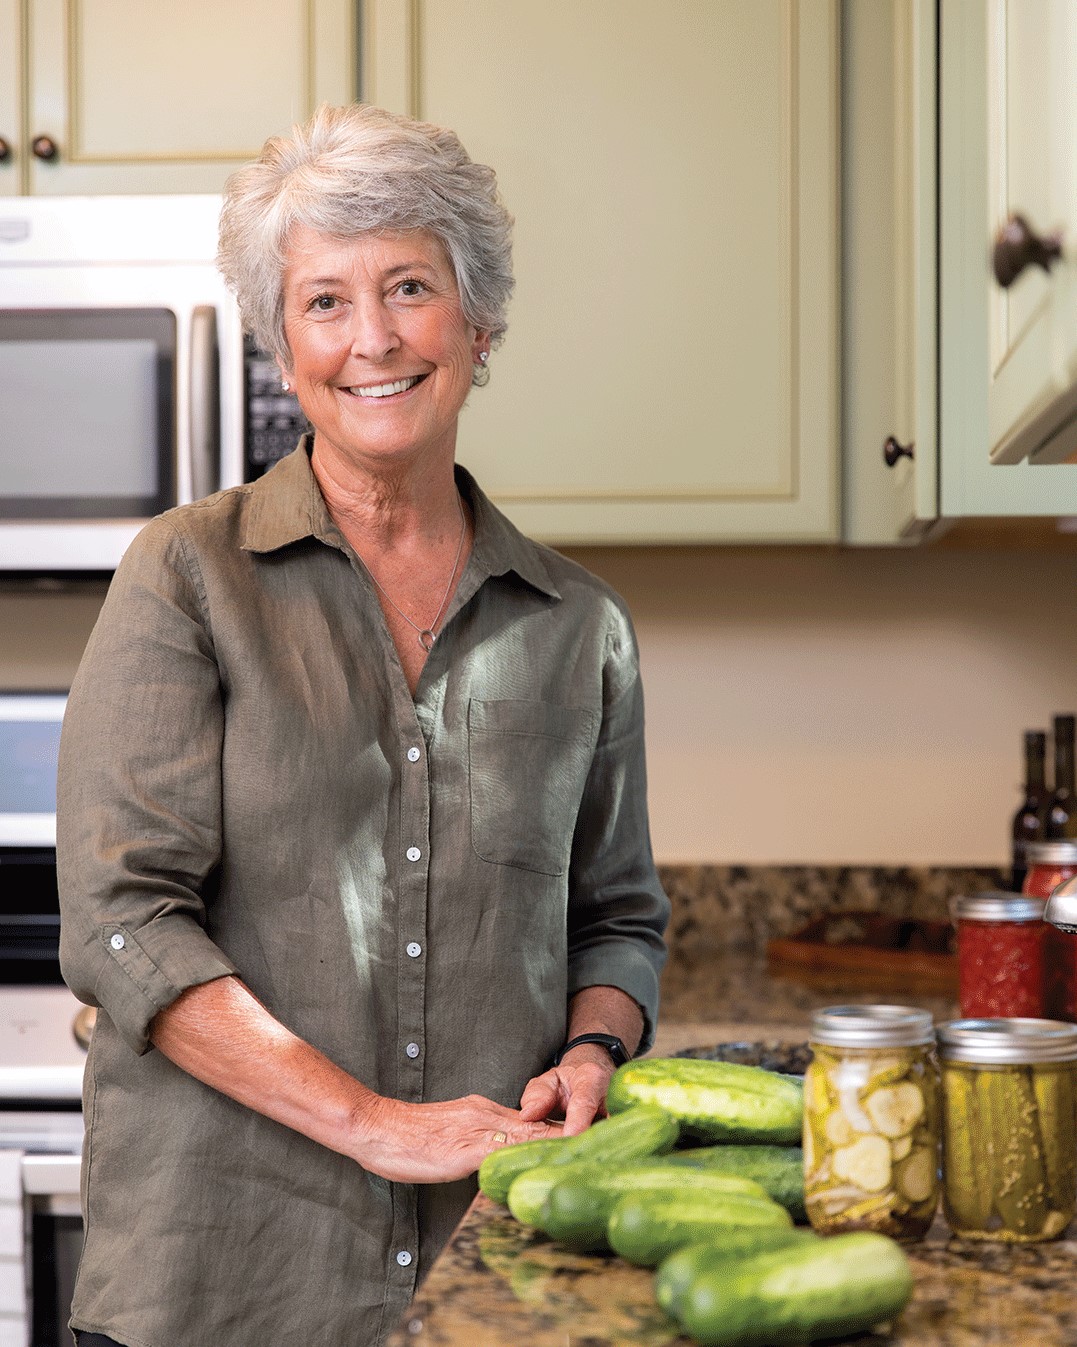
“The kitchen’s been my home,” Anderson says. “I’ll never retire from the passion, creativity and always learning the adventures of food.”
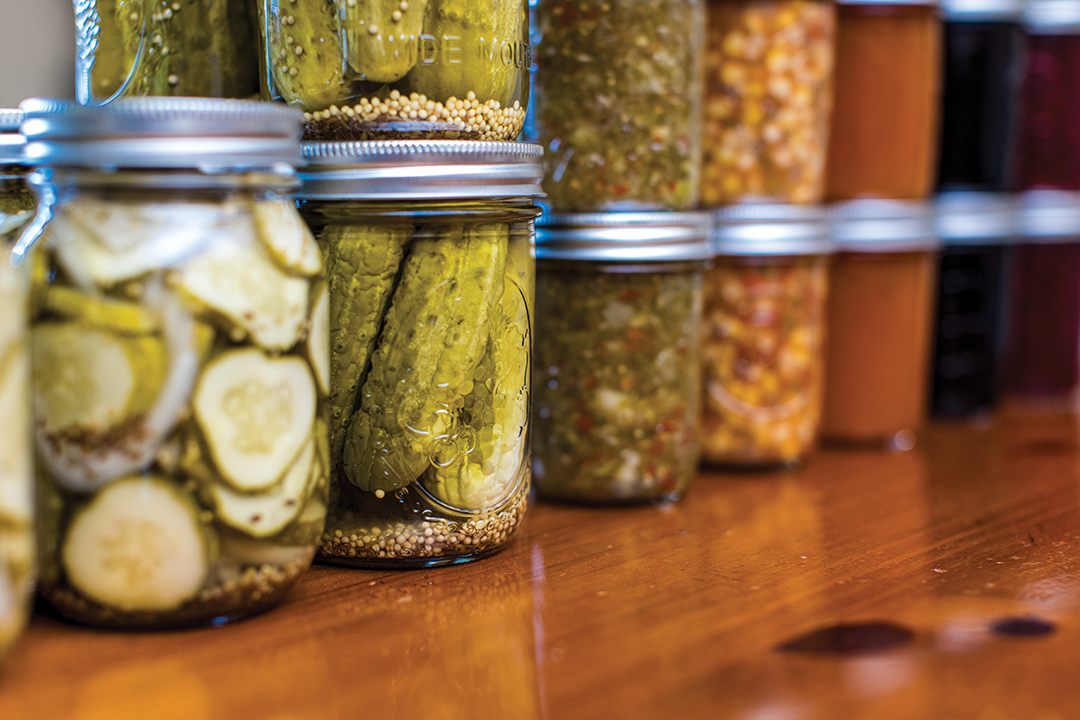
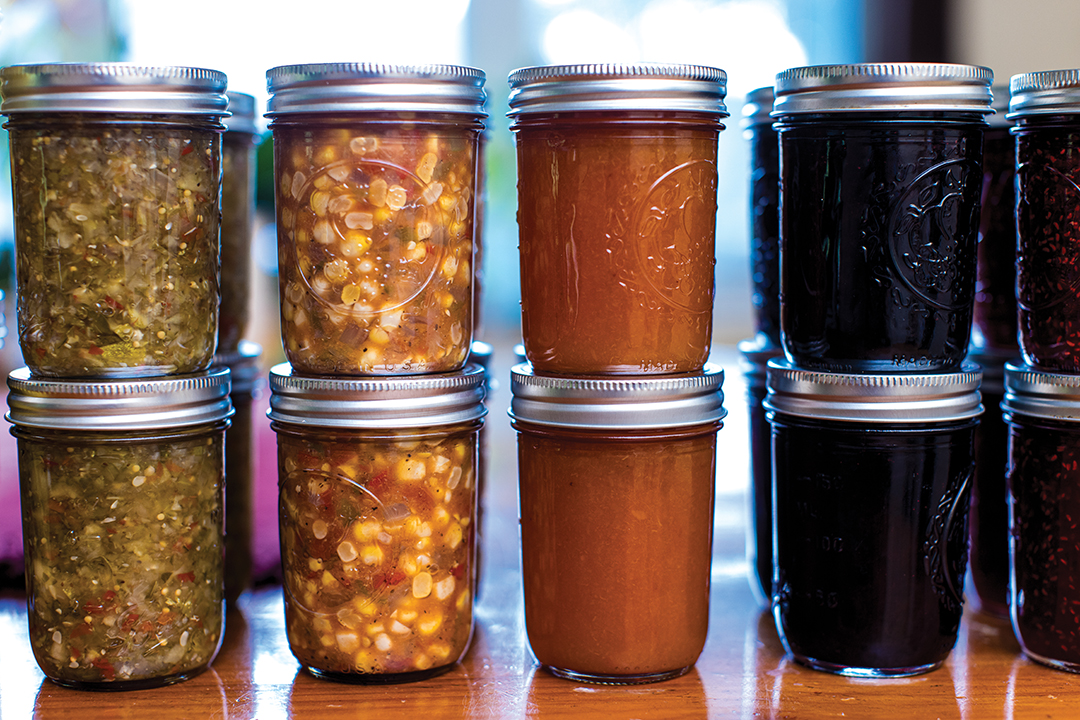
Those food adventures have continued in the form of submitting recipes to the Minnesota State Fair Creative Arts Competition. This year, she entered her rhubarb jam, rhubarb blueberry jam, sweet pickle relish, sweet dill pickles, spicy dill pickles and salsa.
While she and her husband have a nice-sized garden in their backyard in Edina, the real magic happens at their family farm near Green Isle (just west of the Twin Cities in Sibley County), where their garden plot has expanded to an impressive 1,620 square feet.
This year, she planted broccoli, Brussels sprouts, butternut squash, cucumbers, jalapenos, peppers, pumpkins, spaghetti squash and tomatoes. And thanks to her granddaughter’s prodding, she gave watermelon a try for the first time. Jams, sweet dill pickles and salsa are some of her favorite foods to prepare and share.
“Jams because of the joy of picking the fruit and preserving it,” she says. “Pickles and salsa because of the satisfaction in growing the cucumbers, tomatoes, peppers, etc. It’s a bit more time consuming, but it’s my happy place.”
Anderson’s Tips for Beginners:
Jam is a Great First Step: “Basically, it’s your primary fruit, sugar and sometimes pectin. There are less ingredients, it’s quicker and more efficient timewise,” she says.
Do Your Research: Anderson describes Ball Blue Book of Canning as a great guide for information about equipment and step-by-step instructions for preserving fruits and vegetables. She also recommends So Easy to Preserve, which, she says, is a more extensive read on the different ways to preserve food.
Less is More: “You don’t need many utensils to start canning. The most important is a good 6- to 8-quart nonreactive pot (stainless or enamel coated). I use a larger one for big batches of pickles and salsa,” she says.
Simmered Perfection
Anderson’s family adores her homemade tomato soup. She usually makes a few grilled cheese sandwiches, too, and cuts them up into squares, so they can be enjoyed in fondue fashion. A perfect way to end a fall day.
Tomato Soup
- ½ cup shallots, finely chopped
- 1 tsp. kosher salt
- 2 cloves garlic, minced
- 2 Tbsp. olive oil
- 2 28 oz. cans diced tomatoes (or 3 quarts of home canned tomatoes)
- 3 cups chicken broth
- 1/3 cup honey
- ½ cup packed fresh basil
- ½-1 cup heavy cream, to taste
- salt and pepper. to taste
In a large pot, heat olive oil and sauté shallots with salt until tender. Add garlic and let cook for one minute. Add diced tomatoes and chicken broth, let simmer for 20–30 minutes, stirring occasionally until thickened. Add honey and fresh basil. Use an immersion blender to puree until smooth. Add cream, and season to taste.
Sweet Cucumber Relish 1st place and Best of Show MN State Fair 2019
Makes 8-9 half-pint jars
- 6 lbs. medium pickling cucumbers 5-6” washed, ends trimmed, and finely chopped
- 3 sweet yellow onions, peeled and finely chopped
- 3 green peppers washed, cored, seeded, and finely chopped
- 1 large red pepper washed, cored, seeded, and finely chopped
- ½ cup canning salt
- Cold water for rinsing
- 2 cups cider vinegar
- 3 cups sugar
- 3 serrano peppers finely chopped
- 1 Tbsp. mustard seeds
- 1 Tbsp. celery seeds
Combine chopped cucumbers, onions, green and red pepper in a large bowl, sprinkle with ½ cup canning salt and enough distilled water to cover vegetables. Stir and cover, let sit at room temperature for 2 hours. Transfer vegetables to a large colander, set in the sink and rinse well with cold water, let drain. Meanwhile in a 6-8 quart pot combine cider vinegar, sugar, and serrano peppers. Heat to boiling stirring until sugar dissolves. Add mustard seed, celery seed, and drained vegetables. Return to boiling, reduce heat and let simmer for 10 minutes stirring frequently. Ladle into hot sterilized jars leaving ¼” head space. Wipe rims and cover with two-piece lids and screw bands tightly. Process in water bath making sure the water covers the jars 1-2”, return to a boil and process for 10 minutes. Remove jars from the canner, place on a towel and let cool. As they cool you should hear the popping of the lids as they seal.
Rhubarb Blueberry Jam
Makes 7-8 half-pint jars
- 7 cups chopped rhubarb
- 4 ¼ cups blueberries
- 4 ¼ cups sugar
- 1/3 cup lemon juice
Add the rhubarb, blueberries, sugar, and lemon juice to a large pot, stir to combine. Cover with plastic wrap, let macerate for 30 minutes to overnight. Place a couple of small plates in the freezer. When ready to make jam, place the large pot with the fruit on the stove. Bring to a boil on medium high heat and boil hard for 20-25 minutes or until you reach the setting point, stirring occasionally. At the setting point, the foam will have subsided, and the bubbles will get larger looking like fish eyeballs. Take a plate from the freezer and put a teaspoon of jam on it, let sit for one minute then push with your finger, if it wrinkles the jam is ready. Ladle into hot sterilized jars within ¼” of the top. Wipe rims with clean wet cloth. Place lids on and screw bands tightly. Place in a water bath making sure the water covers the jars 1-2”, bring back to a boil and process for 10 minutes. Remove jars to a towel and let cool. As the jam cools you will hear the popping sound of the lids as they seal.
Overcome the Overwhelm: A Q&A about canning
Learning how to properly can and pickle food requires a small investment of time, but in the end, it prevents food waste and helps sustain a healthy lifestyle.
The University of Minnesota Extension has a wealth of information on its website, including step-by-step videos. We sat down with Amy Johnston, the U of M’s regional extension educator in food safety.
Edina Magazine: There is a wealth of information online about canning and pickling the food we harvest. Your website is a treasure trove. But it is overwhelming. What are the absolute essentials people need to know about before they start canning?
Amy Johnston: While the canning process may initially feel overwhelming, if you take the time to do your research and properly review your recipe’s instructions, you’ll soon reap the benefits of learning to can your own home goods. Start by preparing your workspace. Wash your hands thoroughly with hot water and soap, wipe down your entire working surface area with hot water and soap, not chemicals. Wash all jars and lids with hot water and soap and boil jars and lids in hot water to sanitize them. Clean your produce, running it under cool water. Scrub your veggies if needed. Let the product air dry or use a clean towel.
EM: I’ve often wanted to can my own vegetables but I’m terrified of botulism. Every time I go online to read about the canning process, there are so many warnings of botulism. So I don’t end up canning anything at all. What would you tell beginners so they know it’s not a scary process?
AJ: When it comes to canning low-acid foods, such as red meats, fish, poultry, and vegetables, use a pressure canner which heats foods to 240 to 250 degrees, destroying the spores that produce botulism toxin. (Clostridium botulinum bacteria are a common soil microorganism that produces a very deadly toxin or poison, which are the main reason why low-acid foods must be pressure-canned.) Meanwhile, the boiling water bath canner method heats foods to boiling temperatures (212 degrees Fahrenheit), a temperature considered safe for canning pickles and fruits. Once your product is ready to be placed in its jar and sealed with a lid, it’s considered shelf stable. You can be confident that once you’ve gone through the process, that item is safe.
EM: How can you tell if something you’ve canned shows signs of botulism? What are the signs you should not eat it? How do we make sure it’s safe to eat when we open it?
AJ: Canned food items can be stored for up to 12 to 18 months in a cool, dry space. Once a jar has been opened, the food item is safe to consume, but needs to be refrigerated to maintain its freshness. But, if the color looks off, or the smell is off, err on the side of caution and toss it.
This Q&A is mostly about canning. Pickling has its own set of rules. For more information about how to can and pickle, including instructional videos, visit the U of M Extension’s website.